
DISASTER
After our first week of tests I was feeling pretty confident. I had previously spent weeks and weeks looking for all the information I could get about mould making with silicone and resin. Many online videos, many conversations with professional SFX people, including my dear friend Andrea Leanza, and the master mould-maker Robert Freitas, and all this research finally seemed to have paid off. We learned things from the tests, but there were no panics, no disasters. Things felt like they were going surprisingly smoothly.
And the calm and comfort of Donald's home, his wife's cooking, and our evenings after work watching films and drinking wine and coffee made for the perfect work environment. We were both experimenting with products we had never used before, and enjoying getting back into the spirit of stop-motion.

As it was impossible to predict time, though I could not anticipate the actual setback that befell us, my priority was to get the character of Isolde to Liz before anything else. Therefore I was bold, and started making moulds directly on the two main characters. I probably should have started with Anna.
Donald and I worked together, slowly building up the clay beds surrounding the two figures, working on two moulds at once.
Donald and I worked together, slowly building up the clay beds surrounding the two figures, working on two moulds at once.

I had bought three blocks of Chavant clay from Tiranti, before leaving London, and had not thought to order more from Mouldlife. And I also packed one block of CKC plastiline which I had from the old order made in Italy, from Flockart.
Unfortunately the Chavant was not enough, so I brought out the CKC. I had checked on the Flockart website to see if this clay was not for use with silicone, but it made no mention, or at least no clear indication against it. There was absolutely no reason to assume otherwise.
In the picture above, the light tray surrounding the figure is Chavant, the slightly darker grey of the internal wall is CKC. This wall was to allow for the resin shell to extend past the silicone layer of the mould.
Building the first bed of a mould is a very slow and delicate process, particularly for people who rarely do this. Donald was introducing me to strange and obscure music, and I was enjoying the backwards thinking involved in this meticulous process of laying a figure half way in clay. A bed seems to take at least a day to make.
Building the first bed of a mould is a very slow and delicate process, particularly for people who rarely do this. Donald was introducing me to strange and obscure music, and I was enjoying the backwards thinking involved in this meticulous process of laying a figure half way in clay. A bed seems to take at least a day to make.

Donald found a block of hard Chavant he had purchased at some point, which was a terracotta colour. It was added to the mix, and I used some to strengthen the keys in the CKC, as the Italian clay was very soft and difficult to create good keys in. We commented a lot about how soft the CKC was, and we ended up using it quite a lot as it made things faster.

Russeau surrounded by CKC, wearing a first coat of PlatSil© Gel 10 silicone. CKC is also filling the holes in his chest where I had left access to the armature joints, but then decided they were better filled.

To our horror, in some places the silicone did not cure!

Quickly it became clear that the CKC was reacting badly with the silicone. It had contaminated everything. Anywhere that the silicone touched it, or touched something that had been touched by it, the rubber would not cure.There was a spot on Isolde's forehead that I had nicked whilst working on the clay bed, and I'd fixed this with a sculpting tool I had been using to smooth the CKC with. This spot on her head was contaminated! The same went for the areas around the filled hex key holes to the joints, and anywhere else in the vicinity of the CKC

It was obvious that CKC had a high sulphur content. High because the people at MouldLife said that Platsil Gel 10 had a higher resistance to sulphur than many other silicones.
Donald and I, feeling terribly deflated, commenced in making test charts of what worked best to clean away the contamination of the CKC enemy. Lighter fluid, alcohol, fairy liquid, and white spirit. The latter seemed to work best.
The resin did not have any problems curing onto the CKC, but of course I would later be casting silicone puppets from a contaminated resin, so these would need thorough cleaning as well.
It felt like a chemical spill. Everything contaminated, everything needed scrubbing down with white spirit. And though the white spirit softened the clay, it also softened the wax, therefore cleaning the figures could mean deforming them.

We cleaned everything down, slowly, and rebuilt the surface of the bed and walls with recycled Chavant from underneath the figure.
I believe we had to do this whole process twice.
Another week was ending, and we could clearly see that by this point we should have had all full moulds finished (each a rubber version as well as a resin one), and the foam casts done.
I worked through the night until 5:00 in the morning of Friday, making a third and last attempt for an uncontaminated silicone mould.


an acrylic spray sealed the contaminated clay off before using the wax spray, and also (probably not needed) the Flockart Barrier (probably petroleum jelly relabelled and with an inflated price).

02:27 AM

Passing time between silicone layers curing time

part of one of the contaminated layers.

Photoshop plastic wrap effect nostalgia

04:59 AM. Lauder is very pleasant at this hour.


The culprit.
RECOVERY
On the Friday Donald and I made the resin shell over the silicone moulds I had worked on through the night, hoping for the best. Later that day I moved to Edinburgh, to Moat House, where I would spend another week recuperating the lost time, and finishing what I had been able to salvage.
Working with Donald had been wonderful, and as good an experience as I can imagine. And Rosemary's hospitality such an incredible gift.

Removing the bed of clay


Clay beds removed from both figures. Hex keys were cut and inserted into shoulder joints for armature suspension.


Resin poured for bottom halves.

Removing the silicone mould and its shell. Sea Monster.
Though some areas around the edges were not perfectly cured, as a whole the rubber mould was successful, considering what had happened.
Since I was most concerned with having a master mould of the faces, and after the disaster that had occurred, I only worried about making the top half of the mould in silicone.
Since I was most concerned with having a master mould of the faces, and after the disaster that had occurred, I only worried about making the top half of the mould in silicone.

Incredibly both figures were intact, this made me very happy


New wall for top half of resin mould

mould finished and opened.

cracking it open

Faces always get lost

Two part resin mould complete, many months worth of sculpting destroyed. Most liberating.


Two destroyed figures. Two decent moulds.
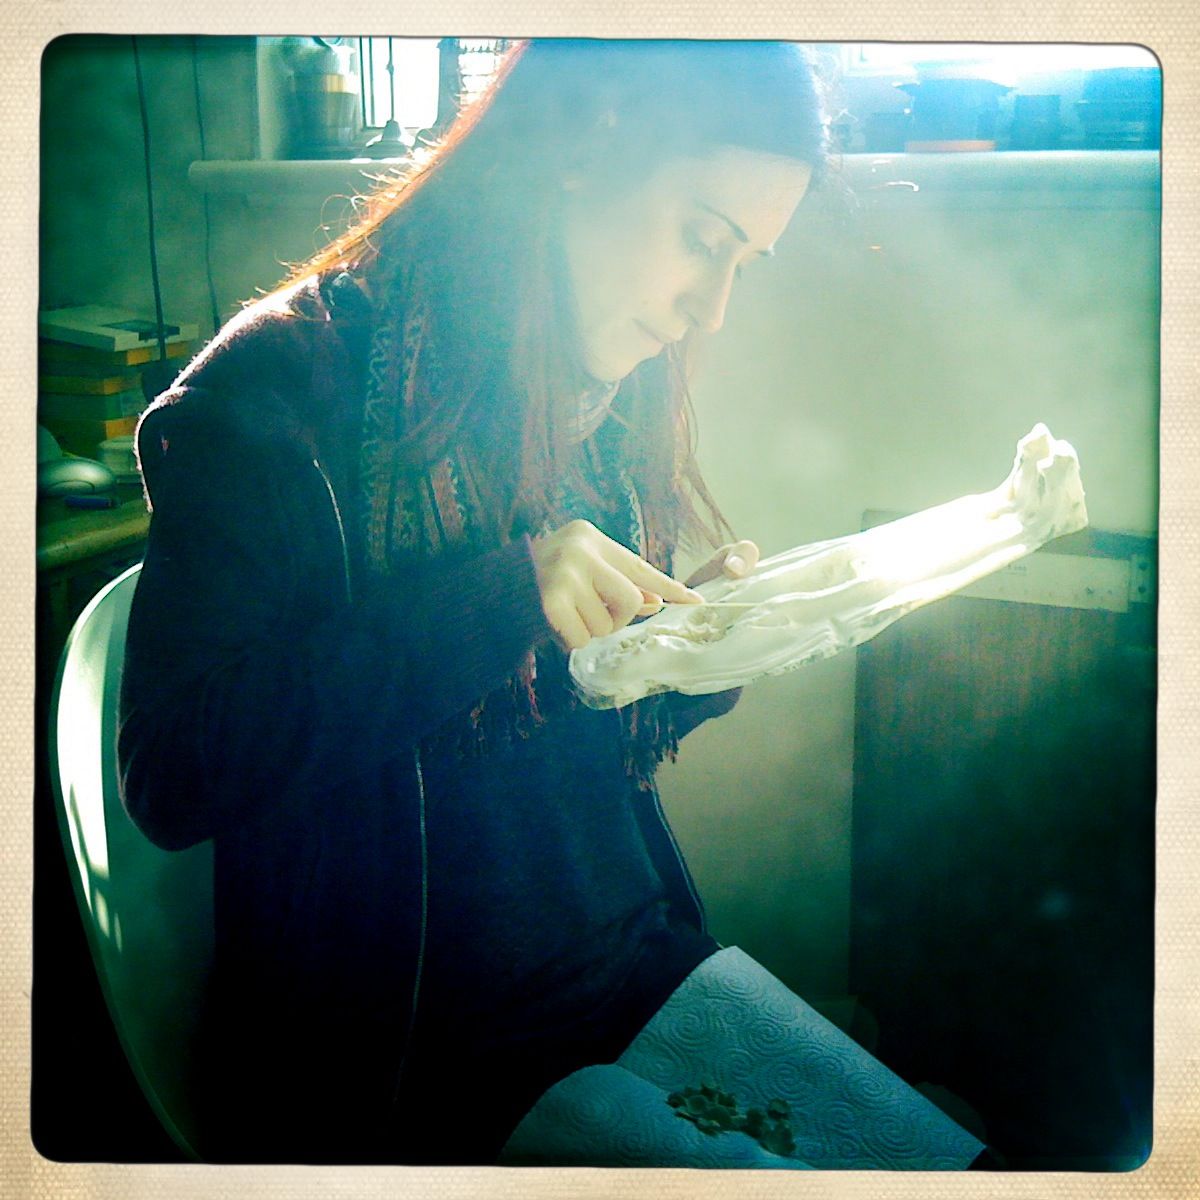
I was blessed with Liz's presence for a day in Edinburgh. Here she is cleaning the wax out from the mould.

In the next room, Tobias, catching up with Mr. Bernard, and Sophie Gackowski working on her first painting.
HANDS

first hand mould. Isolde's hands. Cut straws were placed to leave an opening for the armature to slip into the cast silicone elbow.

On the Thursday, following the CKC disaster, I ordered new blocks of Chavant clay from MouldLife. Here the terracotta colour is a soft batch.

Fingers are tricky to sculpt, tricky to work clay around, and tricky to clean the clay away from.

Hex keys slide into the mould and suspend the armature from the wrist and elbow.

Very fiddly, but a successful mould.

First silicone hand test. I tried laying the wire down and letting it run up the forearm, rather than trying to fix it into the palm stick with some sort of adhesive. I may experiment a little more with this concept.
ANNA - THE COMPLETE MOULD-MAKING PROCESS

For some reason, we beginner mould-makers, are afflicted by a sort of instinct to begin a two-part mould face up. It just doesn't occur to us to do otherwise. I decided this was a misleading instinct, and that I would try Anna face down, as it would avoid the danger of accidentally damaging the face whilst preparing the clay bed, and also, it might be easier. Rob Freita's slide talk suggested this idea. It also allows you to make final adjustments to the face before the last step.
Moreover, it made much more sense, as I would be making the two different top layers of the mould, and this way they would both be working to the same, finished base.

Robert Freitas' brilliant technique of using a flashlight to find the mid point in the figure. Thanks for sharing secrets, Rob!

building the Chavant sulphur free clay bed to surround but not touch the figure. I would then bridge a thin layer to make contact.

Ears are the trickiest part of these moulds, and made easier with the figure face down.


cut hex keys in shoulders, and long ones that will slide in and out from sides of the mould to fix the ankles in place.

My only mistake with this mould. My intention was to create a gap surrounding the figure for overflows of polyurethane foam to flow into and minimise the pressure against a tight close during casting. My mind didn't think things through in the backwards way a mould-maker must, and I created the opposite of a dip.

Mould Wax release agent was sprayed on, and a first thin layer of Easy Flow 120 resin poured and sponged. This resin is transparent until cured, so you are able to see and clear any bubbles, if you work quickly.

After two or three thin layers, a thickened final layer was applied. This was bulked with Alitrihydrate, and thickened with Polyfibre.

After the resin cured, everything was flipped to start work on the top side.The orange wood was the wooden base for the sculptures, which I used here to bulk and raise the clay to use less of it underneath the figure. Something better could have been used, but this is what I had to hand.


Clay was carefully pulled and cleaned away, revealing the resin bed.

I used wax, being cleaner and easier to work with, to create a wall that would contain the silicone, with keys for it to lock in place in the resin shell, which would extend past the silicone and lock to the opposing resin base.
The silicone I am using is PlatSil© Gel 10.
Pins are inserted into the eyes, and a first detail layer of silicone brushed on.

Various layers of silicone, alternating colour to help get a good coverage, until I felt I had enough.

In the background a rolled piece of clay poked with a brush handle, used to cast the silicone "Sea Monster Nipple Keys"

Wax barriers removed. Mould Wax release agent was sprayed on.

Resin shell created.

Pins removed from the eyes, the silicone peeled off perfectly. No contamination this time.


Base prepared with release agent, pins inserted, detail layer of resin sponged on, followed by more layers.

This entire process seemed much easier after beginning with the figure facing down. The ears were much easier to deal with whilst building the clay bed, and feet were more straight forward in the resin application, as it is easier to fill a hole, rather than cover a steep slope.

Anna had been split in half to insert the armature a while back, so when the mould was opened she came open again.


For some reason the wax was a lot easier to clean out this time.
Since I had messed up with the grove around the figure for the foam to spill into, as an alternative I tried drilling 3mm holes around her instead. I don't know how much this affected the polyurethane foam casting, but it was hellish to get the foam out of the holes, so I sort of regretted it.
Some small holes were drilled in the high points of the back of the figure as vents.
Some small holes were drilled in the high points of the back of the figure as vents.

After a few attempts each, on my final work day, the 12th of March, Tobias' birthday, I managed to cast usable foam versions of the puppets for Liz' costume design.
I traveled back to London the following day.
Finally the wax sculptures are gone. I can no longer endlessly fine-tune them. It is a great liberation.


